What a crawl space is and why it matters here
A crawl space is the shallow area between the ground and the first floor of a raised home. It is more common in older frame houses, pier-and-beam homes, some elevated coastal houses and certain additions. Many Florida homes are built on slabs and have none, but where one exists, it matters.
The ground is a constant source of moisture. Even soil that looks dry releases water vapor, and the water table in much of South Florida is high. In a vented crawl space, humid outdoor air flows in through foundation vents, meets cooler wood and pipes and can condense. The result can be damp insulation, musty odors, rusting fasteners, mildew on joists and in severe cases wood decay and pest activity.
Because air from a crawl space rises into the living area through gaps around plumbing, wiring and ducts, conditions below can affect the rooms above. Floors may feel cold or clammy, closets may smell stale and the air conditioning may work harder to dry the air. Encapsulation is one way to address that, though it is not the right answer for every home and should be considered along with drainage, elevation and local rules.
What encapsulation means in practice
Encapsulation turns a vented, damp crawl space into a controlled one. Instead of letting outdoor air in through open vents, the space is sealed off from the ground and from the outside, and humidity is managed with the help of a dehumidifier, a conditioned air supply or both.
The main parts of a typical system are a heavy-duty vapor barrier over the soil, sealed at the walls and around piers, a wall treatment that may include rigid insulation or a liner, sealed or closed foundation vents, an air path for conditioning or dehumidification and a drainage plan if water ever collects. Each piece has a job, and leaving one out weakens the rest.
Encapsulation does not mean wrapping the space in plastic and hoping. It is a designed system. A technician should explain how each part will work in your particular crawl space, what the humidity target is and how you will know whether it is being met. If someone proposes encapsulation without looking at the drainage and without measuring humidity, ask more questions.
Vapor barriers: what they are and how they are laid
The vapor barrier is a thick plastic or reinforced sheet laid over the ground in the crawl space. It stops soil moisture from rising into the air. The thickness and strength matter, because the sheet must survive being walked on, bumped by tools and pressed by the weight of piers.
Proper installation begins with clearing the ground of debris, sharp objects, old rotted wood and anything that could puncture the sheet. Uneven areas are smoothed. The barrier is rolled out with seams overlapped and sealed with tape made for the purpose. At the edges, it is run up the foundation wall and secured and sealed, and around each pier it is cut and sealed tightly.
A barrier that only lies loose on the ground, with open seams and untaped edges, is much less effective. It may also trap standing water if drainage is not planned. In low-lying areas, where flooding is possible, a technician should discuss how water will be handled, whether a drain, a sump or a gap that lets water move beneath the sheet is appropriate.
Check that the sheet does not cover access to termite inspection areas. Local practice may call for visible inspection strips or access points, and a good crew will talk about that with you.
Sealed vents and humidity control
Traditional crawl spaces rely on foundation vents to let air move through. In a humid climate, that idea backfires: the incoming air is often more humid than the crawl space itself, so ventilation adds moisture instead of removing it. Encapsulation reverses the logic, closing the vents and controlling the air inside.
Closing the vents is not as simple as stuffing them. They need to be sealed in a way that holds up and is reversible if flood rules require openings, and in some flood zones, openings are mandatory for water to pass through. Do not close flood vents in a flood-zone building without checking with the local building department. This is one of the areas where local rules decide the design.
Humidity is then controlled by a dehumidifier sized for the space, or by supplying a small amount of conditioned air from the house system, or by both. A humidity monitor lets you check conditions without going into the space. The target is to keep the air within a range that discourages mildew and wood decay. The exact range is something the technician can explain, and the system should include a way to check it.
A drain line or pump for the dehumidifier condensate also needs a plan, because a dehumidifier that fills its own bucket will stop working.
Walls, floors and insulation choices
In an encapsulated crawl space, insulation moves from the floor above to the walls of the crawl space. Insulating the floor joists in a damp crawl space often fails: batts get wet, sag and hold moisture against the wood. Moving the thermal boundary to the foundation walls keeps the space in the same temperature and humidity zone as the house.
Rigid foam board or closed-cell spray foam on the walls is common, with ignition barriers where required. Rigid board is applied in sheets with sealed seams, while spray foam fills gaps in an irregular surface. Neither belongs on a wall that is actively wet, and any leaks or standing water must be fixed first.
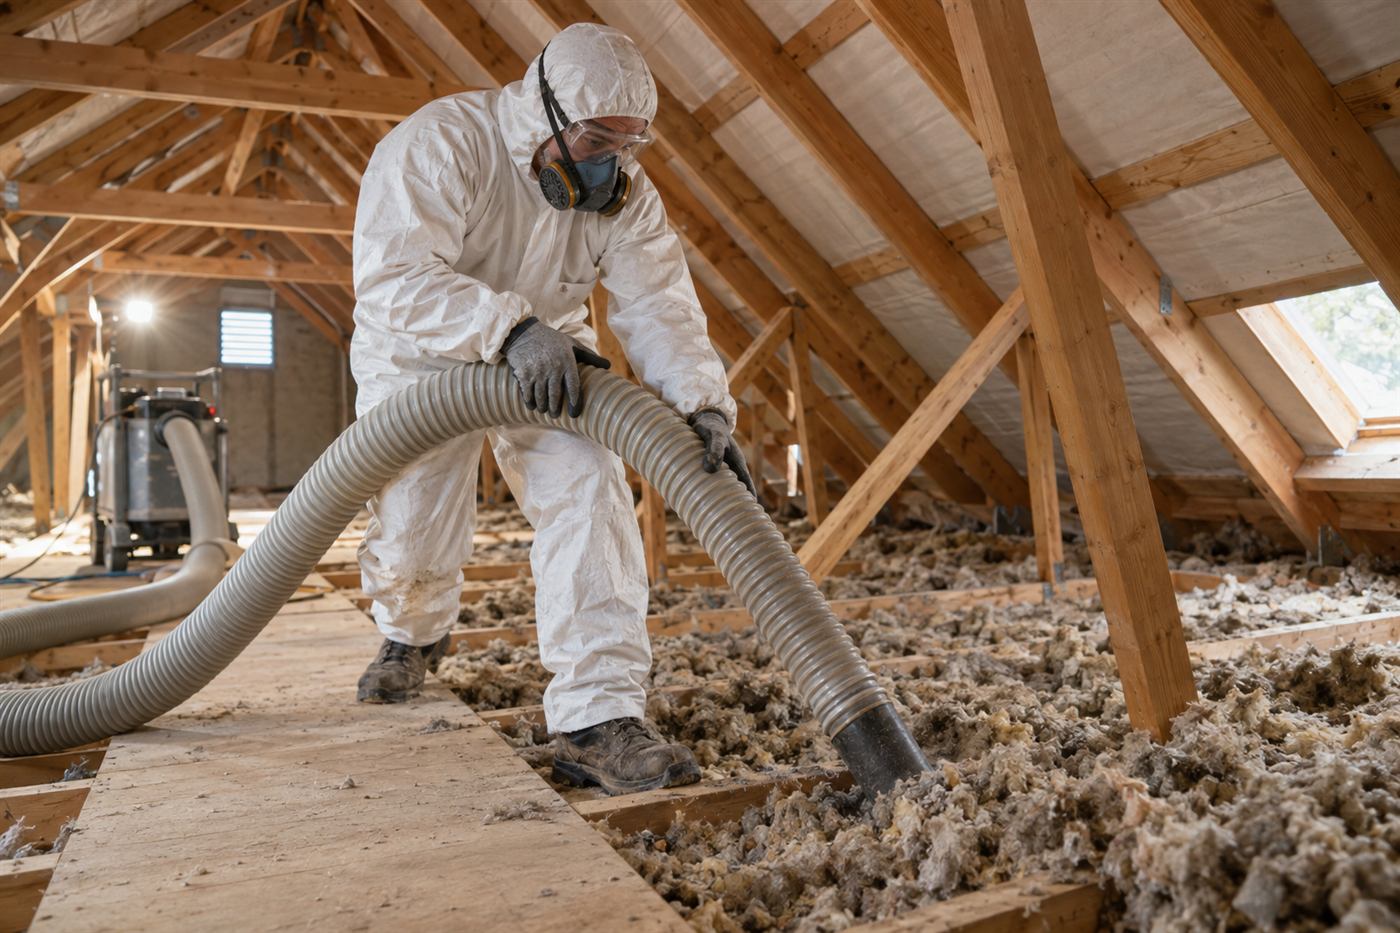
Existing floor insulation needs to be assessed. If it is dry and clean, it may be left. If it is sagging, moldy or wet, it should be removed and bagged with care. Our page on insulation after water damage and our removal page describe how those cases are handled.
Be aware that a floor with old insulation that has been removed will feel cooler to the touch until the crawl space is conditioned, and the homeowner should expect a short adjustment period as the system settles.
Termites, pests and wood health
Wood in a damp crawl space is attractive to termites and other pests, and sealing a space can hide trouble. Before encapsulating, a pest professional should inspect for active termites, past damage and moisture that may need treatment. If any is found, repairs and treatments come first.
Insulation and plastic sheets can also hide pest activity from later inspections. Ask how inspectors will see the sill plates and joists once the walls are lined. Some builders leave a visible strip along the top of the wall or install removable sections. Local pest control companies can tell you what their inspectors prefer.
Rodents are another concern. They chew through foam, plastic and wiring. Entry points should be closed before the work, and any droppings or nests should be cleaned up following sensible safety practices. Do not handle droppings with bare hands or sweep them dry. If you suspect heavy rodent activity, mention it when you call so the crew can plan protective equipment.
Wood with soft spots, crumbling or heavy fungal growth should be evaluated by a qualified professional before encapsulation. Sealing over rot does not fix it.
Safety, access and what not to do yourself
Crawl spaces are hazardous. They are cramped, dark, damp and often home to insects, snakes, rodents and sharp debris. Wiring and plumbing run through them, and some old systems are in poor condition. Standing water near electrical lines is dangerous.
We do not recommend homeowners work in a crawl space, and we do not provide steps that involve live electricity, gas or confined space entry. If you see standing water, hear dripping, smell gas or notice sparks or damaged wiring, stay out and call the appropriate emergency service or utility. For anything involving the smell of gas, leave the building and call 911 or the gas provider from outside.
If you want to look, check from the access hatch with a flashlight and take photos. Describe what you see when you call. Do not enter alone, and do not enter if there is any sign of water near electrical equipment.
A crew should wear protective gear, use proper lighting, follow confined space practices where required and have a plan for getting out quickly. Ask about their approach.
When encapsulation is not the right answer
Encapsulation is not a universal fix. In a home that floods regularly, closing the vents and laying plastic may do more harm than good unless a drainage plan is in place. In a crawl space with serious structural problems, those problems need repair first. In some flood zones, rules require openings that allow water to flow through.
For homes with very shallow crawl spaces that are hard to access, a lighter-touch approach may be sensible: a ground vapor barrier, better drainage, repaired gutters and downspouts, grading that moves water away and a dehumidifier. In some cases, moisture comes from a leaking pipe or a failed drain line and the first job is plumbing.
A candid technician will tell you if encapsulation is more than you need, or if another step should come first. We would rather solve the actual problem than sell a system. Ask what happens if you do nothing for a season, what would change the recommendation and what would indicate success.
Signs a crawl space may need attention
You do not have to go under the house to know something is wrong. Clues often show up in the rooms above, and they are worth noting before you call.
None of these proves a crawl space problem on its own, since many have other causes. Together they help a technician decide where to start looking.
- A musty or earthy smell that is stronger near floor vents, closets or the access panel.
- Floors that feel cold, soft, spongy or slightly damp in humid weather.
- Gaps opening between floorboards or baseboards that were tight before.
- Condensation on ducts or pipes that run through the space.
- Visible mildew on the access hatch, the sill or the underside of the floor.
- Pest activity such as mud tubes, droppings or frequent insects in the house.
- Doors and windows that stick during the rainy season.
Drainage, grading and gutters come first
No crawl space system can outwork a yard that sends water toward the foundation. Before any lining goes in, look at where rain goes. Downspouts that drain beside the house, a yard that slopes toward the wall, a sprinkler head that sprays the foundation and a planter box that holds water against the siding all feed moisture to the crawl space.
Simple corrections often matter more than hardware. Extending downspouts, regrading soil so it falls away from the house, repairing broken irrigation heads and clearing gutters can reduce the amount of water the crawl space has to handle. In low-lying areas and near canals, high groundwater and king tides may add water that no grading can stop, and a pump or drain may be needed.
We are not landscapers or plumbers, and we will tell you when a step belongs to another trade. We will also tell you when the crawl space is wet enough that encapsulation should wait until a drainage solution is in place. The seasonal page on king tide and flood zone insulation looks at those situations.
How a visit works and how to prepare
When you call, tell us about the home: age, type of foundation, how the crawl space is accessed, what you smell or see and whether water has ever been present. Mention any past pest treatment, flood history and plans for renovation.
Quotes are given by phone for simple jobs. Crawl space work is usually complicated enough to need an on-site visit, and there is a service call charge that is explained on the phone before dispatch. The technician will measure the space, check humidity, look for water, assess the condition of existing insulation and framing and note vents and access points.
Before the visit, make sure the access panel is reachable and unlocked, and remove stored items from around it. Keep pets indoors. Gather any flood zone documents or elevation certificates if you have them.
When you are ready, call. Tell us what you are noticing, and we will help you decide whether a visit makes sense.
Questions people ask
Is encapsulation the same as a vapor barrier?
No. A vapor barrier is one part of it. Encapsulation also seals the walls, closes or manages vents, controls humidity and plans for drainage. A loose sheet of plastic on the ground without those other pieces will not control moisture reliably.
Can I close my crawl space vents?
Not always. In flood zones, openings may be required so that water can pass through the foundation. Check with your local building department before closing any vents, and let the technician know if the property is in a flood zone so the design follows local rules.
Will it get rid of the musty smell?
It can reduce odors that come from moisture in the crawl space, but a smell can have other sources, such as leaks, mold elsewhere or pest activity. The visit looks for the cause so the right repair is made instead of masking the smell.
Do I still need pest inspections?
Yes. Termite and pest inspections remain important, and the crawl space should be inspected before it is sealed. Ask how inspectors will see the framing after the walls are lined, and talk with your pest control company about their preferences.
What if water collects under the plastic?
Standing water is a drainage problem and needs a plan, such as grading, a drain or a pump. A vapor barrier laid over a wet area without drainage can hide trouble. The technician should discuss how water will be handled before any sheeting goes down.
How do I get a quote?
Quotes are given by phone for simple jobs, but crawl spaces usually need an on-site visit. A service call charge applies and is explained on the phone before anyone is dispatched. Call and describe your home and what you have noticed.
Describe the situation by phone and we will tell you what the job involves. Quotes are given by phone. Jobs that cannot be quoted without seeing them need a technician on site, and the service call charge is explained on the phone before anyone is dispatched.
(561) 854-1888Related pages
The order of work inside a low space
Crawl space work follows a sequence, and skipping a step tends to show up later. The crew first clears the access, checks the air for safety and takes photos of what is found. Debris, old plastic, wet cardboard and abandoned materials come out before anything new goes in. Next, the technician looks for active water, loose or rusted supports, pest damage and any plumbing leaks, because those problems belong to a repair, not a liner. Only once the space is clean, dry enough to work in and structurally understood does the encapsulation itself begin.
The ground is then shaped and prepared so the barrier can lie flat without sharp edges that cut it. Seams are overlapped and sealed with products suited to damp conditions, and the barrier is brought up the walls and around piers and pipes with careful cuts. Penetrations are sealed one at a time, since a missed gap can pass moist air. Any vent coverings are installed as planned, and equipment such as a dehumidifier or drain is added only where the visit showed a clear need. The crew checks the seams again before packing up.
Homeowners can help by keeping the access clear and making sure the crew can reach it, and by sharing any history of flooding or plumbing leaks. Pets and children should stay away from the opening during the work. Never go into a low space yourself without proper protection, because snakes, wasps, wiring and sharp debris are real hazards. The scope and any quote are explained before work begins, and if the visit shows that drainage or a repair should come first, the crew will say so instead of covering the problem.