What makes Coral Springs homes a particular case
Coral Springs was built out in waves, and a large share of its houses are concrete block homes from the 1970s and 1980s on tidy residential lots. Many have the open floor plans of that era, with vaulted or cathedral ceilings in the main living areas. Vaulted ceilings look spacious, but they complicate insulation, because the roof and the finished ceiling are close together with only a shallow cavity between them.
The rest of those houses typically have a conventional attic over lower, flat ceilings. In that attic sit the air handler, the ductwork and often a mix of insulation types and ages. By now, original ducts may be nearing the end of their life. Wrap peels, connections loosen and the flexible duct skin gets brittle. Those weaknesses cause condensation, air leaks and damp insulation.
Family neighborhoods also bring a particular pattern of use: attics where stored boxes have compressed insulation for years, hatches that have been opened and closed many times, and past renovations that left wiring or ducts rerouted without much thought for what happened to the insulation around them. Each of these contributes to patches of poor coverage that a visit will reveal.
When something goes wrong, such as a roof leak, a pest infestation or storm damage, the result is wet, soiled or displaced material. Removing it, repairing the cause and replacing it is a sequence that deserves care. This page walks through how that sequence typically goes in a Coral Springs home.
Cathedral and vaulted ceilings: what removal really means
Over a vaulted ceiling there is often no open attic. The roof deck, a cavity holding insulation and the interior ceiling finish are stacked within a few inches. If insulation in that cavity becomes wet or contaminated, reaching it may mean opening the ceiling from below or the roof from above. Both are major operations.
A technician should explain this honestly. Sometimes it is possible to access the cavity from a neighboring attic space, a soffit or a small access opening, and to remove or replace material using specialized tools. Other times, the realistic option is to leave the cavity alone if it is dry and stable, and to focus on what can be improved elsewhere.
Moisture in a vaulted cavity is a more serious concern than in an open attic, because there is little airflow to dry it out. If a ceiling stain appears below a cathedral section, the cause should be found quickly. A roof leak, a failed vent boot or a plumbing vent penetration may be responsible. Having a roofer evaluate the source is usually the first step.
In some cases, a cavity can be improved by drilling small holes and installing dense-pack material, a method described on our page about dense-pack wall insulation. It is not a cure for every vaulted ceiling, and it needs proper moisture conditions to work well. A technician will tell you whether it applies.
- Vaulted cavities have little room and little airflow.
- Access may require opening the ceiling or using a nearby attic space.
- Find and fix the leak or vent problem before replacing anything.
- Dense-pack methods apply only in some situations.
Aging attic ductwork and its effect on insulation
Ductwork installed when a home was built is often tired by now. Flexible duct has a plastic inner liner, an insulation layer and an outer jacket. Over time the jacket cracks, the insulation inside loses its bond and the duct begins to sag. Straps loosen. Connections at the air handler and at register boxes leak. Each failure lets cooled air escape or lets humid attic air touch cold surfaces.
The result is condensation that drips onto the attic floor insulation. Over years it can leave dark, matted areas along the duct runs. Owners often see matching stains on ceilings below, particularly near registers. If the insulation looks darkened in a line that follows a duct, the duct is a prime suspect.
Replacing insulation without addressing the duct only buys time. A good plan looks at both. Duct repair or replacement is usually done by an air conditioning contractor, while the insulation crew handles the removal and replacement. Coordinating the sequence helps: duct work first, then insulation, so that new material is not disturbed by the repair crew.
It is also worth knowing that duct insulation and attic floor insulation are different things. The first keeps the duct cold. The second keeps the attic's heat from entering the house. Both matter, and each can be compromised. Our page on sweating ductwork in the attic explains how to recognize the signs without going up there.
How a technician evaluates damage in a block home
Block construction affects what can be seen and reached. Walls are masonry, and the main insulation concerns are the attic floor, the vaulted sections and any framed furring or soffit areas. The inspection typically follows these steps.
- Locate stains and damp areas on ceilings, and compare them with what is visible from the attic.
- Trace water or pest entry to the roof, vents, flashing, soffits or plumbing penetrations.
- Assess the type, depth and condition of existing insulation across the whole attic.
- Examine ductwork, wrap, straps and connections, and the air handler pan and drain line.
- Inspect wiring and junction boxes for damage and for proper clearances.
- Identify vaulted areas and decide whether and how they can be reached.
- Check ventilation paths at soffits and ridge for blockages.
- Plan protection, access routes and debris handling for the specific home.
Storm damage and what to do in the first days
After a storm, the sensible first steps are about safety and limiting damage. If water is entering, stop it where you safely can with tarps or by moving belongings. If there is any sign of electrical danger, such as water near fixtures, shut off the affected circuit at the panel if it is safe to do so and keep clear. Call 911 for immediate danger.
Take photographs of everything before cleanup. Ceilings, walls, floors and, if it can be done safely from the hatch, a view of the attic. These records matter for insurance claims. Our guide on insulation and insurance claims explains what carriers commonly ask for.
Wet insulation should not be left in place for long. The longer it stays damp, the greater the chance of mold growth and ceiling damage. Our page on wet insulation after a hurricane describes timing and priorities in more detail.
Avoid walking in the attic yourself. Wet insulation can hide the location of framing, and wet drywall can fail under weight. A technician will use proper boards and equipment. The best help you can give is a clear description of what you noticed and when.
Pests in attics and how cleanup connects to sealing
Rodents, squirrels, raccoons and birds can find their way into attics through gaps at soffits, vents, roof returns and damaged screens. Once inside, they tunnel and nest in insulation, leave droppings and urine, and sometimes chew wiring. Wiring damage is a fire concern and should be assessed by a qualified electrical contractor.
Cleanup begins only after the animals have been dealt with by a pest specialist. Then the contaminated material is removed, the area is cleaned, and entry points are sealed with materials appropriate to the opening. Skipping the sealing step is the most common reason pest problems return.
Our page on rodent damage to insulation goes through the signs, from scratching sounds to stains on ceilings, and describes what a thorough cleanup looks like.
In Coral Springs neighborhoods with mature trees, branches touching roofs give animals easy access. Trimming back branches, where permitted, reduces the likelihood of a repeat. A technician may mention such steps as part of a prevention plan.
Choosing and installing replacement insulation
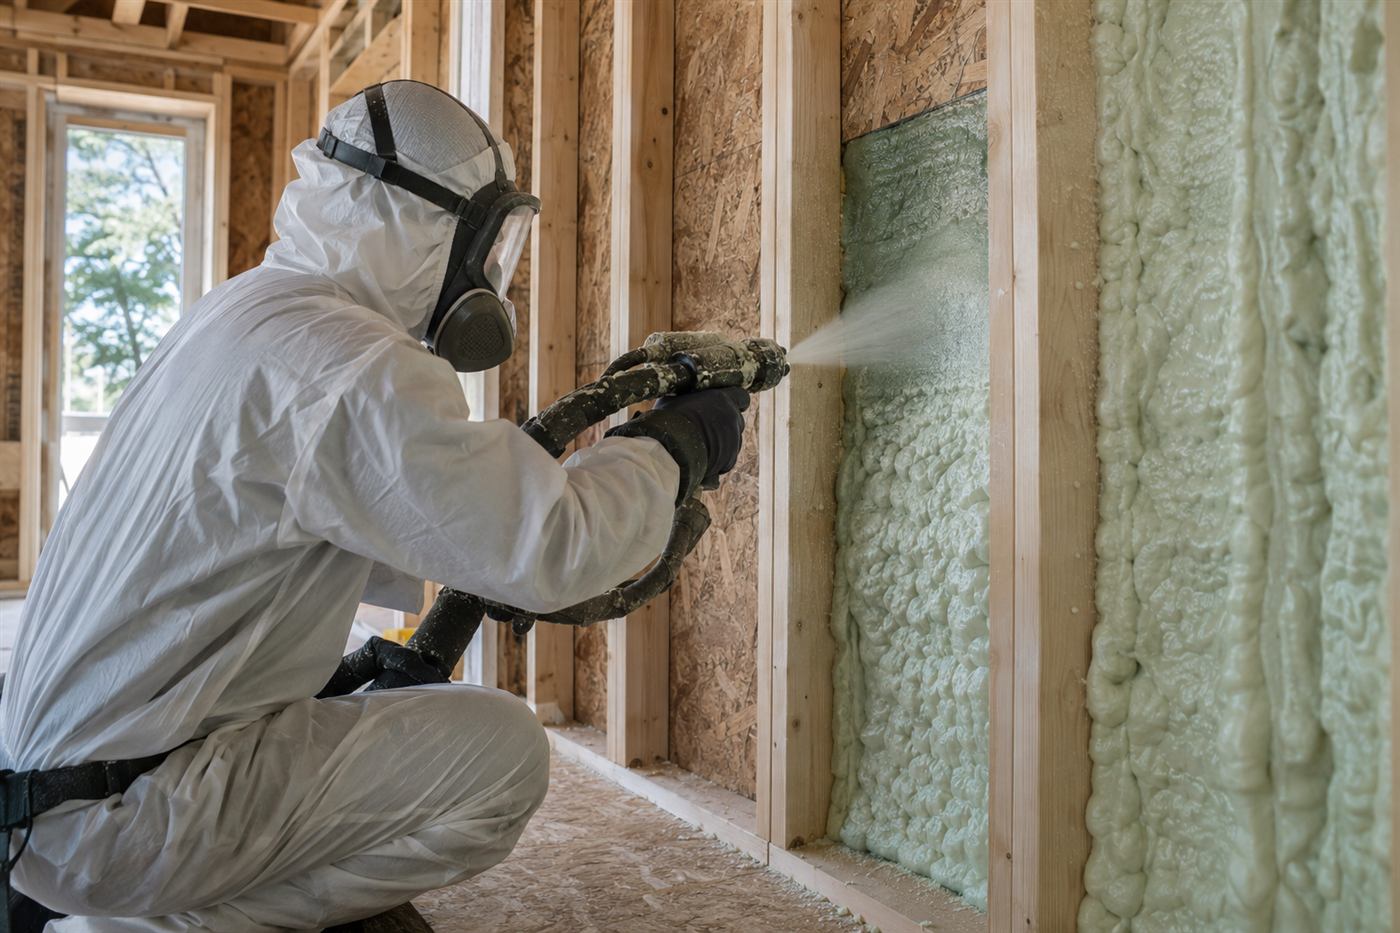
For the flat-ceiling attic areas, blown-in material is a common replacement. It spreads evenly, fills around bracing and wiring, and can be installed to a consistent depth. Batts can fit certain areas, and spray foam is another consideration. Our guide to spray foam versus blown-in compares them.
In the vaulted areas, the options are narrower and depend on access and moisture conditions. A technician will tell you what is realistic. Where nothing can be done without opening the ceiling, you may decide to wait and plan the work together with other renovations.
Detail work separates a good job from an average one. Baffles at the eaves preserve ventilation. Clearances around recessed lights, flues and the air handler are respected. The attic hatch is sealed and insulated. Depth markers are placed so the finished coverage can be seen at a glance.
Take photographs of the finished attic and keep them. They are helpful for future repairs, for insurance, and for a buyer's inspector someday. Ask the crew to point out anything they think you should watch, such as an aging duct or an area of the roof that may need attention.
Typical Coral Springs scenarios
A family finds a stain on the ceiling of a bedroom closet. The attic shows damp, matted material along a flex duct with torn wrap. The air conditioning contractor replaces the duct section and the insulation crew removes and replaces the damaged material. Together, the two repairs fix the cause and the symptom.
A homeowner with a vaulted living room notices a brown patch on the ceiling after heavy rain. A roofer finds a failed vent boot. After the roof is repaired, the technician evaluates the cavity and recommends monitoring it, since the area appears to have dried and opening it is not justified yet.
After a tropical storm, an owner finds soggy insulation near the eaves where wind-driven rain entered through a soffit vent. The wet section is removed, the area is dried and the material is replaced, with baffles added to keep the vent clear.
A homeowner hears animals in the attic and finds droppings near the hatch. A pest specialist handles the infestation, the crew removes and cleans contaminated material, and entry points are sealed. Fresh insulation is installed over the cleaned area.
Details owners often overlook before the crew arrives
A few small preparations make a removal visit smoother. Clear the hallway or closet where the hatch sits, including shoes, laundry baskets and wall hangings that could be knocked off. Take down fragile items near the route. If your hatch is a pull-down ladder, check that it works smoothly and holds weight, since a stuck or damaged ladder can delay everything.
Think about the attic contents. Holiday decorations, luggage and boxes of papers are common, and they hide insulation under them. They also soak up dust. Move them to a clean space before the visit, and consider whether everything needs to go back up afterward. Walkway boards or a small platform give you a storage spot without crushing new material.
Tell the crew about anything unusual that you know of: an old roof repair, a bath fan that was rerouted, a spot where you once saw a drip, or a previous pest problem. Even a vague memory can point a technician to the right place much faster than a general search. It also helps to mention any allergies or sensitivities in the household.
Finally, check on your air conditioner. If the air handler is in the attic, it will be in the crew's work area. Make sure you know where the shutoff and the drain line are, and be ready to turn the system off if the crew requests it. Afterward, check that the system runs normally and that no ducts look disturbed. Raising a question the same day is much easier than days later.
How to get started
Call and describe what you have noticed: the location of stains, smells or sounds, recent storms or plumbing events, the age of the home and whether the air handler is in the attic. If you can, send photographs of ceilings and of the area around the attic hatch.
Quotes are given only by phone. Simple situations may be quoted from your description. Anything involving hidden damage, vaulted cavities or unknown conditions needs an on-site visit, and there is a service call charge that is explained on the phone before anyone is dispatched. For general background, see our page on insulation removal and replacement.
Before the visit, clear the area under the hatch, secure pets, and make sure access is easy. If anything seems dangerous, leave the area and call 911 for immediate hazards. When you are ready, call and talk through your Coral Springs home with the team, and they will help you decide what to do first.
Questions people ask
Can insulation above a vaulted ceiling be replaced?
Sometimes, depending on access and moisture conditions. Often it requires opening the ceiling or using nearby attic access. A technician can tell you what is realistic, and if the cavity is dry and stable, it may be wiser to leave it alone and focus elsewhere.
Should I fix my ducts before or after replacing insulation?
Before. If the duct is leaking or sweating, repairing it first prevents new material from getting wet or being disturbed by the repair crew. An air conditioning contractor usually handles the duct work, and the insulation crew follows.
What should I do right after a storm leaks into my attic?
Stay safe, limit water entry where you can, shut off affected circuits if it is safe and keep clear of electrical danger. Photograph everything before cleanup and call for help. Do not walk in the attic yourself, since wet insulation hides framing.
Do animals in the attic mean all the insulation must go?
Not always. Contaminated areas are removed and cleaned, while unaffected areas may remain. The animals must be dealt with first by a pest specialist, and entry points must be sealed so the problem does not return.
Is any of this safe to do on my own?
It is not recommended. Attics are hot, wiring and framing create hazards and insulation dust irritates lungs. Trained crews use protective gear, containment and proper disposal. Your best contribution is observing and describing what you notice.
How do I get a quote?
Quotes are given only by phone. Simple jobs may be quoted from your description, and complicated work needs an on-site visit with a service call charge explained before dispatch. Call and describe what is happening in your home.
Describe the situation by phone and we will tell you what the job involves. Quotes are given by phone. Jobs that cannot be quoted without seeing them need a technician on site, and the service call charge is explained on the phone before anyone is dispatched.
(561) 854-1888Related pages
What Happens to Old Material Before New Goes In
Removal and replacement starts with a careful look at what is already overhead, because the plan depends on the condition of the old material. Many Coral Springs homes have been standing for a long time, and attic insulation can be matted, discolored, or thin where it has shifted. The crew checks the decking for moisture stains, looks for signs of past roof leaks, notes any droppings or nesting debris from pests, and finds wiring and ducts that were buried over the years. Whatever turns up is explained to you before work begins, along with the scope and any quote, so the choice between removing everything or adding to what is there is made with clear information.
Once the scope is agreed, the crew protects the living space before touching anything. Floors and walkways are covered, the attic hatch or pull down stairs are sealed off as well as possible, and equipment is positioned so loose material is pulled out through a hose rather than carried through your rooms. Old material is vacuumed out in sections, which keeps dust from drifting into the house. Technicians wear protective gear because aged insulation can be itchy and dusty, and they work slowly near light fixtures, vents, and the edges of the roof deck where debris tends to collect. Ask the crew to point out anything unusual so you understand the attic.
After the bare attic floor is exposed, the crew has a rare chance to inspect and seal before new material goes in. Gaps around plumbing stacks, wire penetrations, and the top plates of walls can be sealed while they are easy to reach. Recessed lights, bath fans, and ducts are checked so nothing is covered improperly. Only then is the replacement material installed evenly, with depth markers or a visual check across the space. You should plan to keep pets and children out of the work area, clear the path to the attic access, and ask any question you like before the crew starts.